
- AR-15 Performance
- Beretta™ Performance
- Bersa Performance
- Canik Performance
- CZ Performance
- Diamondback™ Performance
- FN America Performance
- Glock™ Performance
- Hi Point Performance
- HK Performance
- IWI Performance
- Kahr Performance
- Kel-Tec Performance
- Kimber Performance
- Remington Performance
-
Ruger® Performance
- American Performance Parts
- American Compact Performance Parts
- LC9® and LC380® Performance Parts
- LC9s® EC9s® Performance Parts
- LCP® Performance Parts
- LCP® II Performance Parts
- LCP MAX Performance Parts
- MAX-9 Performance Parts
- PC Performance Parts
- Ruger-5.7 Performance Parts
- Security-380 Performance Parts
- Security 9® Performance Parts
- SR9® and SR40® Performance Parts
- SR9c® and SR40c® Performance Parts
- SR22® Performance Parts
- SR45® Performance Parts
- SAR USA Performance
- SCCY Performance
- Sig Sauer® Performance
- Smith & Wesson® Performance
- Springfield Armory® Performance
-
Taurus® Performance
- G2, G2c, and PT111 G2, Performance Parts
- G2s Performance Parts
- G3 Performance Parts
- GX2 Performance Parts
- GX4 Performance Parts
- Judge Performance Parts
- Raging Bull, M444, 44 Performance Parts
- 327, 605, 856 Performance Parts
- Spectrum Performance Parts
- TCP Performance Parts
- TH9c Performance Parts
- Tracker 44, 627, 692 Performance Parts
- TS9 Performance Parts
- TX22 Performance Parts
- 1911 Performance Parts
- Walther™ Performance
- Charging Handles
- Closeouts
- Guide Rods
- Guide Rod Assemblies
- Hammer Springs
- Magazine Extensions
- Magazine Release
- Optic Mounts and Suppressor Sights
- Performance Spring Kits
- Package Deals
- Rack Assist Plates
- Recoil Springs
- Replacement Pins
- Sear and Sear Springs
- Slide Stop Springs
- Striker Guides and Springs
- Takedown Plates and Pins
- Tools and Kits
- Traction Grip Overlays
- Trigger Bars and Connectors
- Trigger Return Springs
- Triggers and Trigger Kits
- T-Shirts and Stickers
Trigger Safety Blade Installation
Tools needed for installation:
- Tweezers
- 1/16th pin punch
- Brass hammer
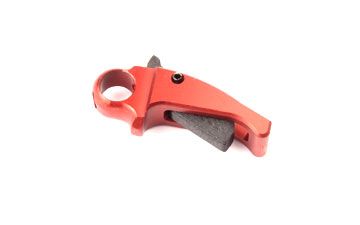
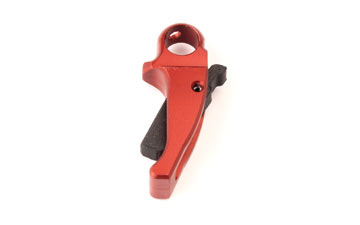
Safety Blade Installation Instructions for Galloway Precision Aluminum Triggers
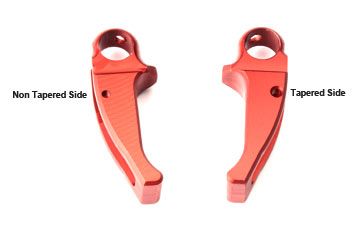
- Inspect the safety blade pin holes. You’ll notice the pin hole on one side has a taper and is slightly larger than the other. You'll need this for step 3.
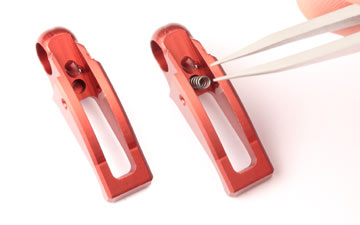
- With a set of tweezers insert the safety blade spring into the pocket through the rear of the trigger.
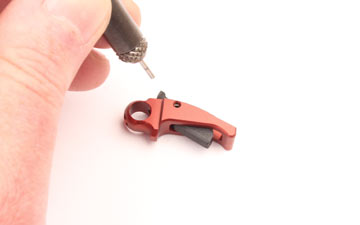
- Set the trigger on it’s side with the tapered safety blade pin hole facing up.
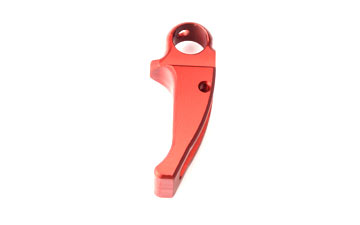
- Insert the safety blade pin into the side of the trigger about 1/8th inch.

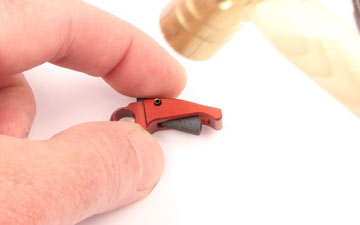
- Slide the safety blade into the back of the trigger, lining the safety blade spring into the blade and the pin hole in the blade up with the pin.
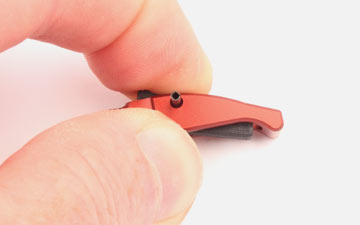
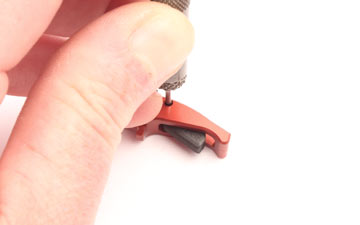
- While holding the blade in place, tap the pin through the blade into the opposite side pin hole of the trigger until near flush with the side of the trigger facing upward. This will keep you from scratching the finish with the hammer.
- With a 1/16th pin punch tap the pin the rest of the way in until the pin is flush with the outside of the opposite side safety blade pin hole of the trigger.
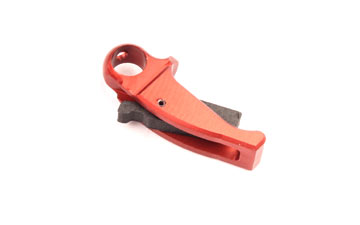
- Test the safety blade by pressing until flush with the trigger face and release. The blade should spring back to the original position if installed correctly.
- You are now ready to follow the trigger installation video for your particular trigger to complete the rest of the process.